 TITANIUM PAD ARM IMPLANTS
You can do your own Titanium Pad Arm Implants. There are 3 common types of Compression Mount Pad Arms: The Classic Snap-in, the L-Bend and the S-Bend. All three are readily available in kits.
![]()

GENERAL FRAME PREPARATION
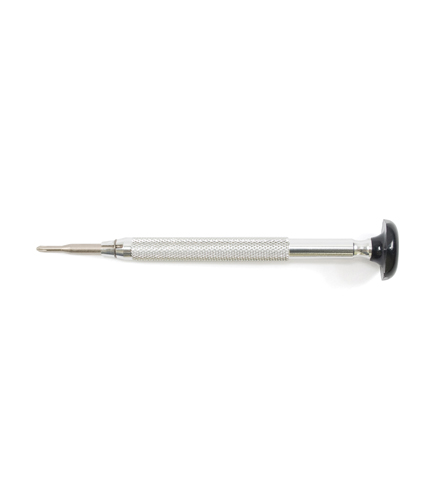
1. Use a screwdriver such as SD778 to remove temples.
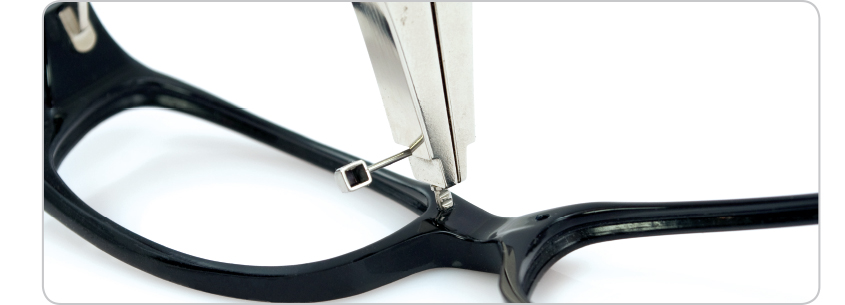
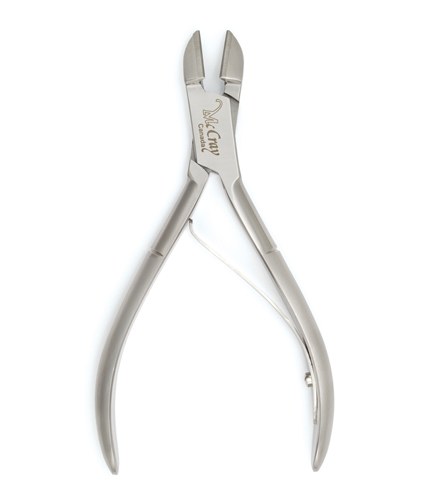
2. Use the PL214 cutter, to remove most of the nose support (Diagram a). Do not cut too deeply into the nose support. Be sure to leave a ridge (Diagram b).

3. Carefully sand down the rough jagged edge at the lowest setting with a Dremel and sanding wheel bit.
4. Use a 400 grit sandpaper to further smooth the surface by hand. Continue to refine the surface with a 800 grit sandpaper and a little bit of water.
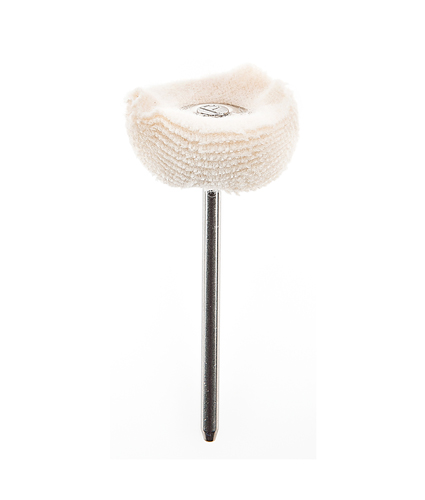
5. Apply buffing compound PCFS to either the BS-224029 buffing wheel bit on the Dremel or the large BFM630 buffing wheel. Gently polish. Do not press too hard.

MARKING & DRILLING
6. Position pad arm on the desired area on the frame and use a pen to mark the location. Then use an Awl to indent the pen mark. OR Use the PADARMTOOL-APP for precise and accurate indentation. Click Here on instructions on how to use the APP.
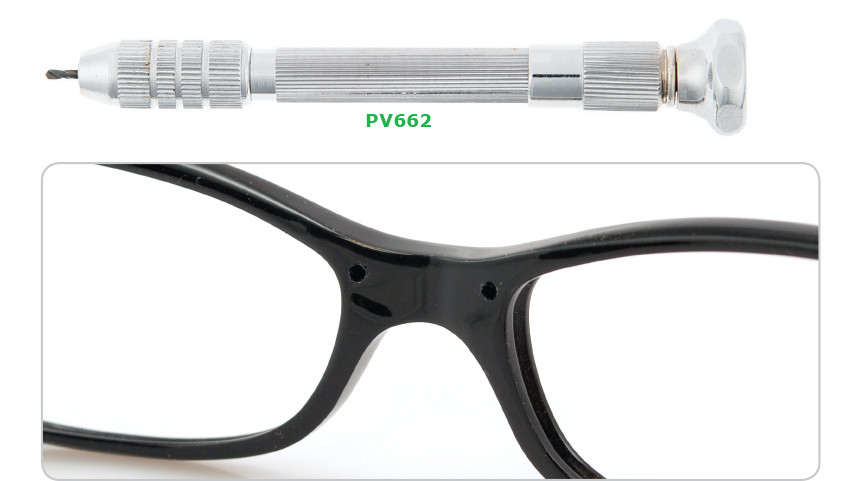
7. Place PV662 Pin Vise drill bit into the indentation. Ensure Pin Vise is perpendicular to frame. Manually drill until a depth of 2mm is achieved. Do not exceed this amount.
For Classic Snap-in Nosepad and L-Bend Pad Arms, continue to Step 8. For S-Bend Pad Arm, please proceed to Step 12.
COMPRESSION MOUNTING: CLASSIC SNAP-IN & L-BEND PAD ARMS
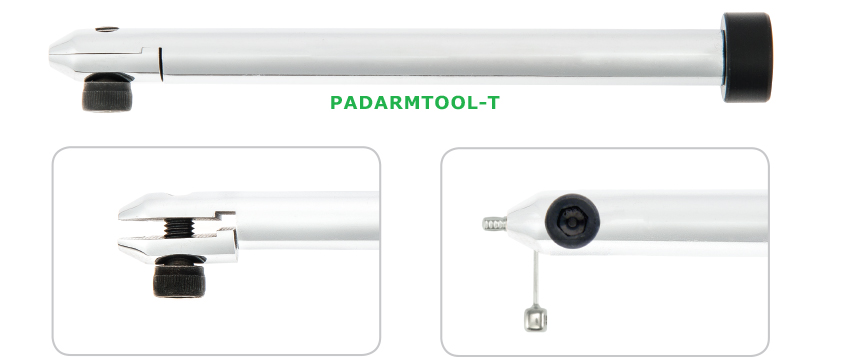
8. Loosen the screw and open the jaw of the Punch Tool PADARMTOOL-T. Place pad arm into the groove, ensuring that the base is pointing outwards. Tighten screw to securely hold pad arm in place.
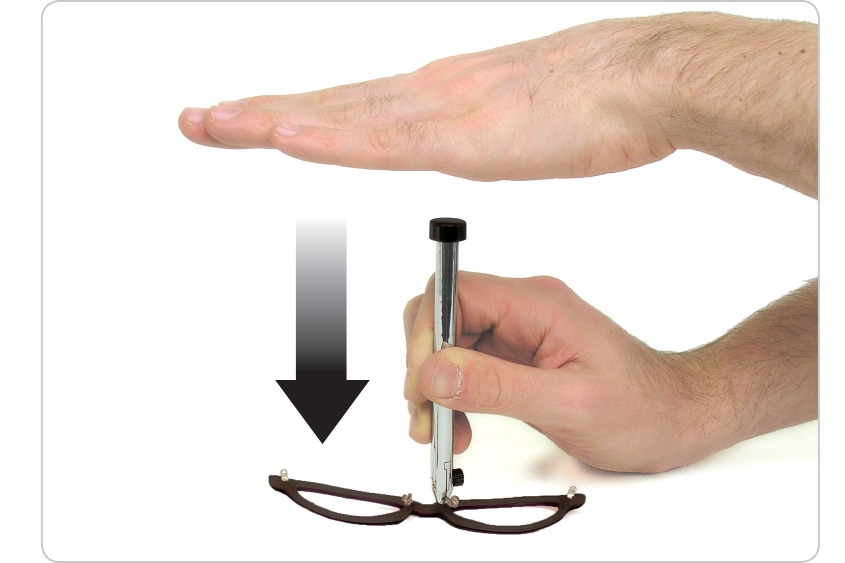
9. Position tip of the pad arm into the pre-drilled hole. Rotate pad arm to follow eyewire. Hold the Punch Tool perpendicular to the frame with one hand and with the other hand firmly tap the tool in a downward motion.
10. Loosen screw, open jaw and remove Punch Tool from pad arm. Repeat on the other side.
11. Finish by mounting the nosepads onto pad arms. Re-attach temples. DONE!
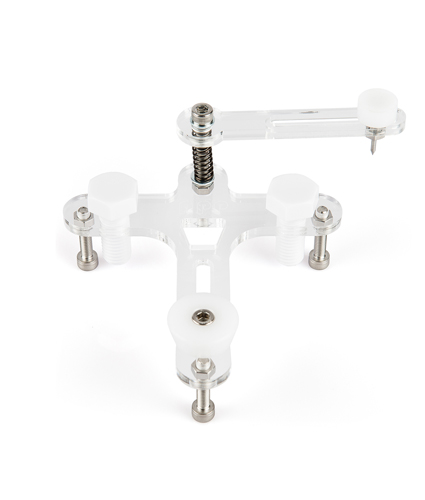
COMPRESSION MOUNTING: S-BEND PAD ARMS
Note: S-Bend pad arms are defined for left and right sides. Ensure you have selected the correct pad arm for the side you are implanting.
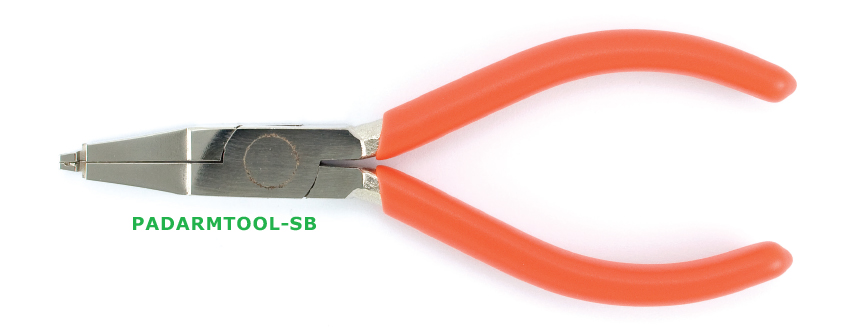
12. Put the S-Bend pad arm into the groove of the PADARMTOOL-SB plier. Ensure that the mounting end is pointing outward. Close plier and hold pad arm securely in place.
13. Position plier over drill hole. Angle nosepad arm accordingly. Ensure that the plier is perpendicular to the frame. With a firm grip on the plier, press down into the hole.
14. Once mounted, release tool and repeat to the other side of the frame.
15. Finish by mounting the nosepads onto pad arms. Re-attach temples. DONE!
WHAT YOU MAY NEED
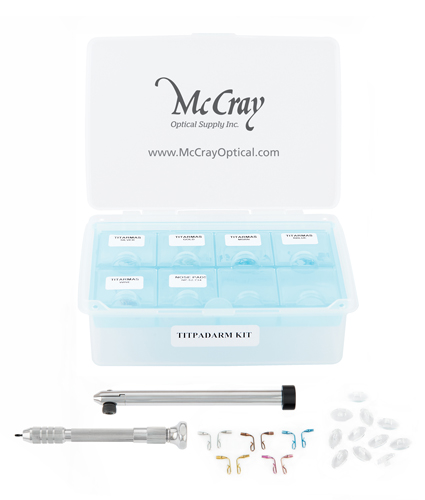
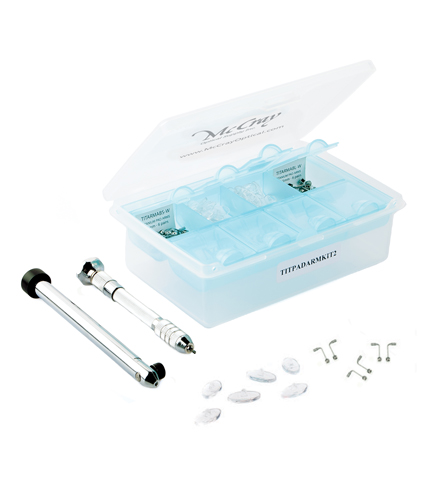
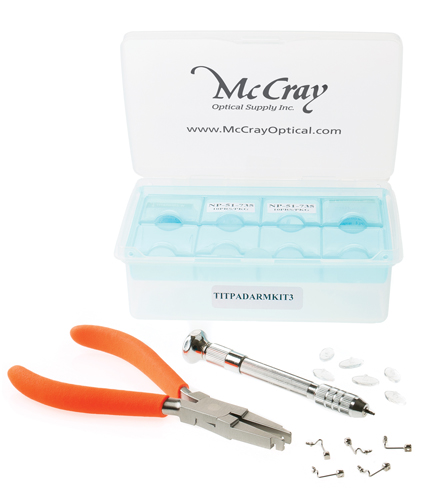
ADDITIONAL SUPPLIES YOU MAY NEED
